I’ve been running Google Search Console’s bulk data export pretty much since day one. Google launched it in 2023 and I set it up almost immediately. Raw Search Console data in BigQuery is incredibly useful, and once you have it running you kind of forget it’s there.
Until you need to move it.
Adevinta sold its Spanish business to EQT, and suddenly we had to migrate everything to new GCP projects. Every dataset, every export. And obviously, losing years of Search Console data was not an option.
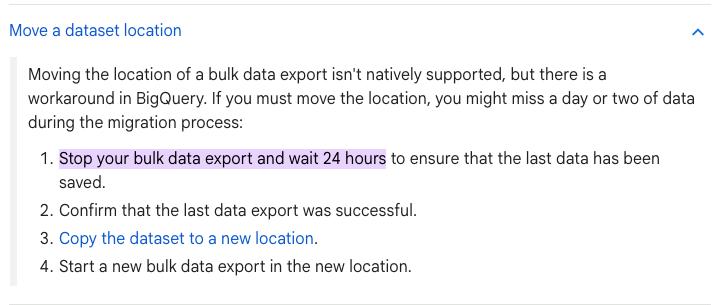
I couldn’t find anything on Google’s official documentation covering migrating a bulk data export to a different GCP project. The closest reference is their guide on moving a dataset location, which recommends stopping the export, waiting 24 hours, and then copying the dataset. That’s a full day of Search Console data potentially gone.
We tried a different method that migrates everything without losing a single day of data. This guide walks through the full process we followed.
Prerequisites
Before you start, make sure you have:
- Owner or admin access to both the source and destination GCP projects
- The
bqcommand-line tool. You don’t need to install anything on your machine. Just open Cloud Shell in Google Cloud Platform and you’ll havebqandgcloudready to go.

- Verified ownership of the Search Console property you’re exporting
Step 1: Create the destination project and dataset
You need two things in place in BigQuery:
- A project (the top-level GCP container).
- A dataset (where the actual tables will live inside that project).
If the destination project doesn’t exist yet, create it in the GCP Console or via gcloud:
gcloud projects create adevinta-spain-abc12 --name="Adevinta Spain"Then create a dataset inside that project.
bq mk --dataset adevinta-spain-abc12:searchconsole_datasetHere adevinta-spain-abc12 is the project ID, and searchconsole_dataset is the dataset name where your export tables will live.
A few things to note:
- Since we stayed in the same region, we didn’t need the
--locationflag because BigQuery automatically matches the source and destination locations. If you ever have to change regions, just take into account that it becomes a transfer with egress costs rather than an instant copy. Also, once a dataset location is set, it is permanent. - Dataset names can only contain letters, numbers, and underscores.
Step 2: Check the ExportLog before copying
Before copying anything, check the ExportLog table in the source dataset to confirm that today’s export has already run. The key is making sure that on the day you’re migrating, the data has already been inserted. This way you’re not catching the export mid-write, and your copy will include the most recent data.
SELECT *
FROM `old-project-id.searchconsole.ExportLog`
ORDER BY data_date DESC
LIMIT 5
Look at the data_date and publish_time columns. The data_date tells you which day’s data was exported, and publish_time tells you when it was written to BigQuery. Once you see that both SEARCHDATA_SITE_IMPRESSION and SEARCHDATA_URL_IMPRESSION have been exported for the day you want to start the migration, you’re safe to proceed.
Step 3: Copy the historical data
Every bulk data export creates three tables:
searchdata_site_impression— site-level impression and click data (aggregated by property).searchdata_url_impression— URL-level impression and click data (broken down by page).ExportLog— logs of each export run. Useful for debugging but optional to migrate.
You need to copy at least the first two. The bq cp command handles this. Adding --nosync runs the copy as an async job, which is useful for large tables.
Start with the site-level impressions table, which contains aggregated data per property:
bq --nosync cp \
  old-project-id:searchconsole.searchdata_site_impression \
  adevinta-spain-abc12:searchconsole_dataset.searchdata_site_impression
Then copy the URL-level impressions table, which has the per-page breakdown:
bq --nosync cp \
  old-project-id:searchconsole.searchdata_url_impression \
  adevinta-spain-abc12:searchconsole_dataset.searchdata_url_impression
Finally, the export log. This one is optional but handy for debugging if something goes wrong later:
bq --nosync cp \
  old-project-id:searchconsole.ExportLog \
  adevinta-spain-abc12:searchconsole_dataset.ExportLog
Depending on how much data you have, each copy could take a few minutes. You can check the job status in the BigQuery console or by running:
bq ls -j --project_id=adevinta-spain-abc12Step 4: Grant permissions to the GSC service account
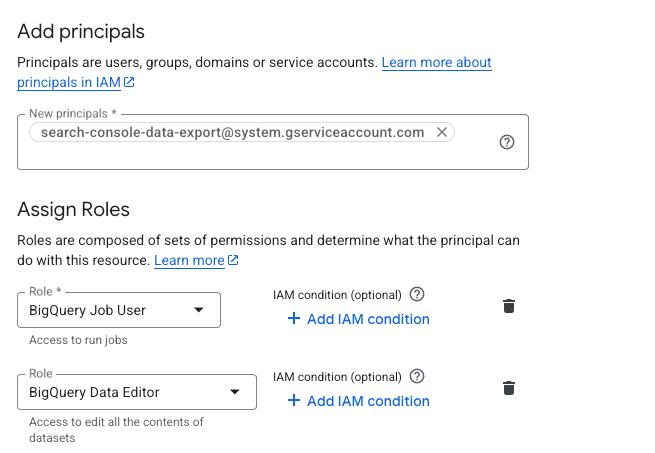
For Search Console to continue writing data to the new dataset, you need to grant its service account the right permissions. The service account used by GSC bulk export is:
search-console-data-export@system.gserviceaccount.com
Grant it two IAM roles on the destination project:
- BigQuery Job User (
roles/bigquery.jobUser). Allows it to run export jobs. - BigQuery Data Editor (
roles/bigquery.dataEditor). Allows it to write data to tables.
You can do this via the IAM console or with gcloud in Cloud Shell:
gcloud projects add-iam-policy-binding adevinta-spain-abc12 \
  --member="serviceAccount:search-console-data-export@system.gserviceaccount.com" \
  --role="roles/bigquery.jobUser"

gcloud projects add-iam-policy-binding adevinta-spain-abc12 \
  --member="serviceAccount:search-console-data-export@system.gserviceaccount.com" \
  --role="roles/bigquery.dataEditor"
Step 5: Update the export settings in Search Console
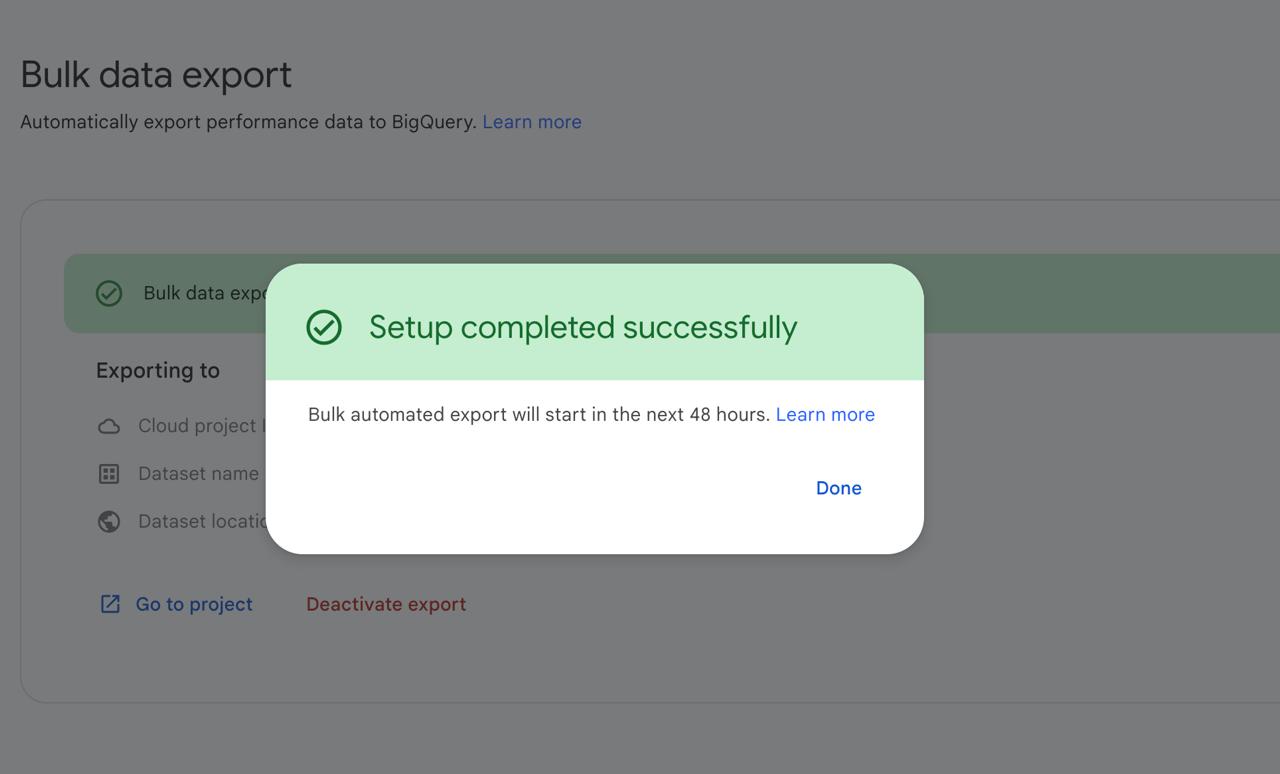
Go to Search Console and navigate to Settings > Bulk data export. Update the BigQuery project and dataset to point to the new destination.
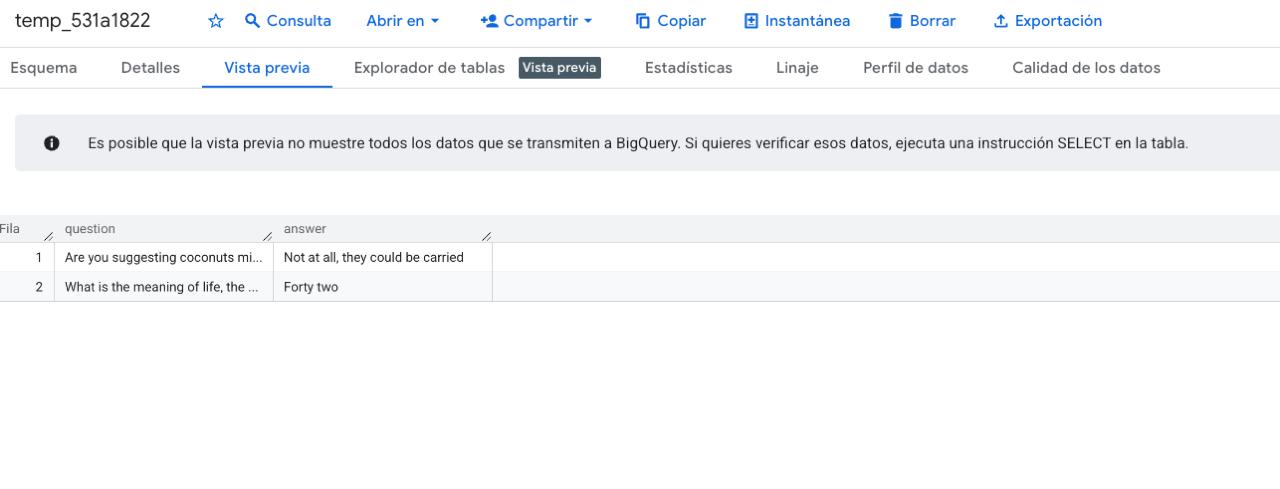
Fun detail: when Search Console tests the connection to your new dataset, it creates a temporary table with some easter eggs. Monty Python’s coconut debate and The Hitchhiker’s Guide to the Galaxy’s “forty two.” You’ll see it appear briefly in BigQuery before it gets cleaned up.
After saving, Search Console will start writing new data to the new dataset. Combined with the historical data you copied in Step 3, you’ll have a complete, uninterrupted dataset with zero data gaps.
Step 6: Verify the migration
Give it a day or two, then check that new data is flowing:
SELECT MAX(data_date) AS latest_date
FROM `adevinta-spain-abc12.searchconsole_dataset.searchdata_site_impression`
If the latest date is recent, the export is working. You should also spot-check a few metrics against the original dataset to make sure the historical copy is complete.
Common issues
“Permission denied” errors after updating the export: Double-check that the service account has both roles (Job User and Data Editor) on the new project, not just the dataset.

Big Thanks
Big thanks to the data engineering team at Adevinta Motor for figuring this out together: Ibai Barberena, Ismael Arab Garcia, and Rafael Baena. Hopefully this guide and our experience is useful to someone in the same situation as us.
Get notified when I publish new tools, scripts, and articles.
No spam. Unsubscribe anytime.